As the rollout of fibre continues more homes and businesses than ever are converting to VOIP Phone systems for more mobility, advanced features and to save costs. In this blog, we'll go through a quick SIP configuration with 2Talk that will get your phone connected and running in only 5-10 minutes.
Preparation:
Before beginning, we highly recommend upgrading to the latest firmware release for security, bug fixes and the latest features. If you are unfamiliar with the process please refer to our guide "How do I upgrade firmware on a Grandstream IP Phone?" for more information.
You can register for a free or paid 2Talk account here:
http://www.2talk.co.nz/voice.html
Step 1:
Set the timezone to GMT+12:00 (Auckland, Wellington) under Settings > Date and Time.
Select Save and Apply at the bottom of the page once complete.
Step 2:
Configure the SIP Details under Accounts > General Settings.
Account Name: <enter a display name here>
SIP Server: sip.2talk.co.nz
SIP User ID: <enter your 2Talk phone number here>
Authenticate ID: <enter your 2Talk phone number here>
Authenticate Password: <enter your 2Talk password here>

Select Save and Apply at the bottom of the page once complete.
Step 3:
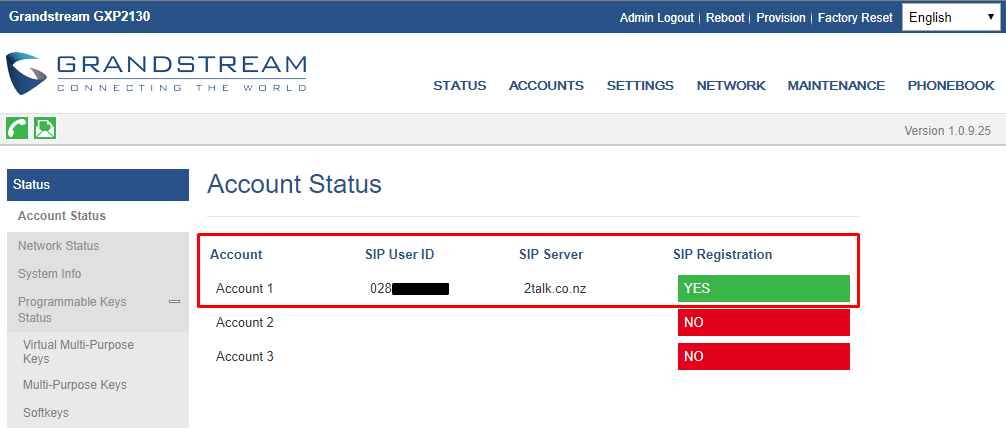
Your phone should now be SIP registered and ready to go! To verify this check the Status > Account Status page and you should see YES in the SIP Registration (example below).
Step 4:
For security purposes we highly recommend updating the username and password to your VOIP Phone, this can be found under Maintenance > Web Access.

This guide can be applied to the majority of Grandstream Desk, DECT & IP Video Phones (GXP16XX, GXP17XX, GXP21XX, GRP26XX, GXV32XX, GXV35XX & DP7XX Series).